
Supplies required: 1 x gold mini wreath ring, 1 x roll of floristry tape, length of ribbon or twine, scissors plus foliage/flowers for the season.
Step 1. Forage/source foliage or flowers
To mark the season try changing the design of your mini wreath ring. Firstly take a few cuttings of seasonal foliage or source some of your favourite flowers. You really won’t need much to complete your design.
Step 2. Prep stems
Cut or clean the stems of your chosen foliage or flowers, removing any unwanted leaves, leaving a few cm clean on the stem in order for you to be able to attach your stems with the floristry tape to your mini wreath ring.
Step 3. Ribbon and 'green up'
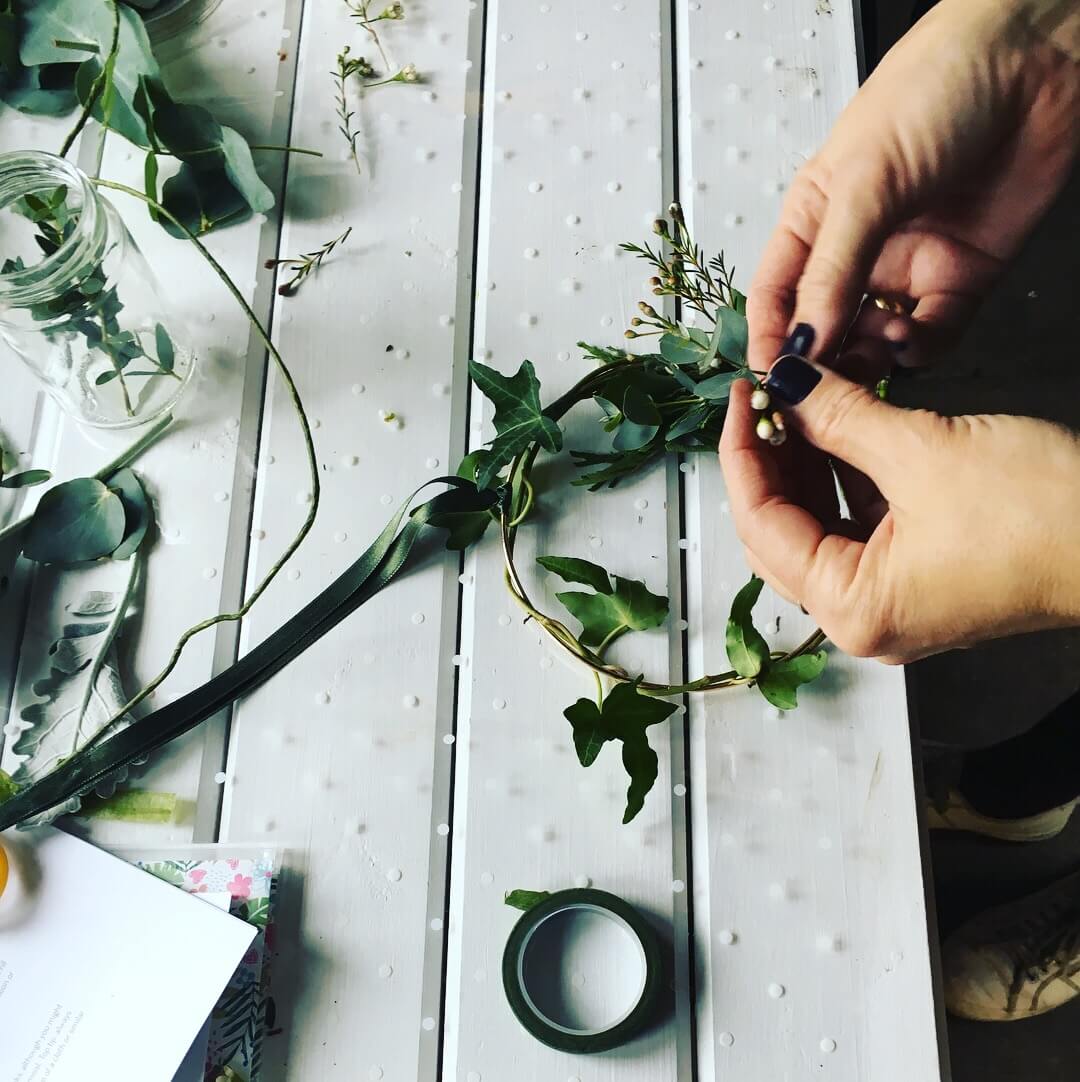
With the mini wreath ring in front of you tie on your ribbon or twine of choice. This will be how you hang your design up in your chosen spot.
Start to add the foliage, essentially 'sticking' to the ring, using the floristry tape. Pull the tape away to break it once satisfied you have secured your foliage to the ring.
Select a few types of foliage and "green up" the ring by adding it around the edges with your tape (if you want full coverage), or add to the bottom of your ring leaving the clean line of the rest of the ring showing.
Tip: To get the best from the floristry tape, stretch, pull and wrap the tape as you attach your foliage to the ring. Wrap a number of times around to make sure your flowers are secure. If you use your thumb and forefinger to stretch and wrap/spin the tape it will warm and becoming sticky.
Step 4. Add interest
Now start to add "interest" to your wreath with other flowers and stems - typically filler type flowers, small and interesting. Complement these with any large focal flowers (e.g. roses) - Tip: only if you want to, you could leave your design very simple with just one foliage, just as beautiful.
Select a few types of foliage and "green up" the ring by adding it around the edges with your tape (if you want full coverage), or add to the bottom of your ring leaving the clean line of the rest of the ring showing.
Step 5. Stand back and admire your creation
When you've finished your design make sure to take a step back and check the balance and security of your foliage/flowers. Once you're completely happy hang it on your door or around the house (I like mine on a hook just in side our front door, the foliage and herbs smell lovely on arrival home!) using the ribbon.
Step 6: Redesign
Remember you can re use the wreath ring and change your design as often as you want, why not mark the season or make a new one with family or friends. If you are doing this as a team building exercise why not share the experience further by supporting one another further, i.e. hold the design up for a colleague whilst making/checking you are happy with it. Also its a lovely way to remember your time together if you all choose a designated place to hang them in the work space, and redesign as part of a quarterly social review of how far you've come as a team so far that year.
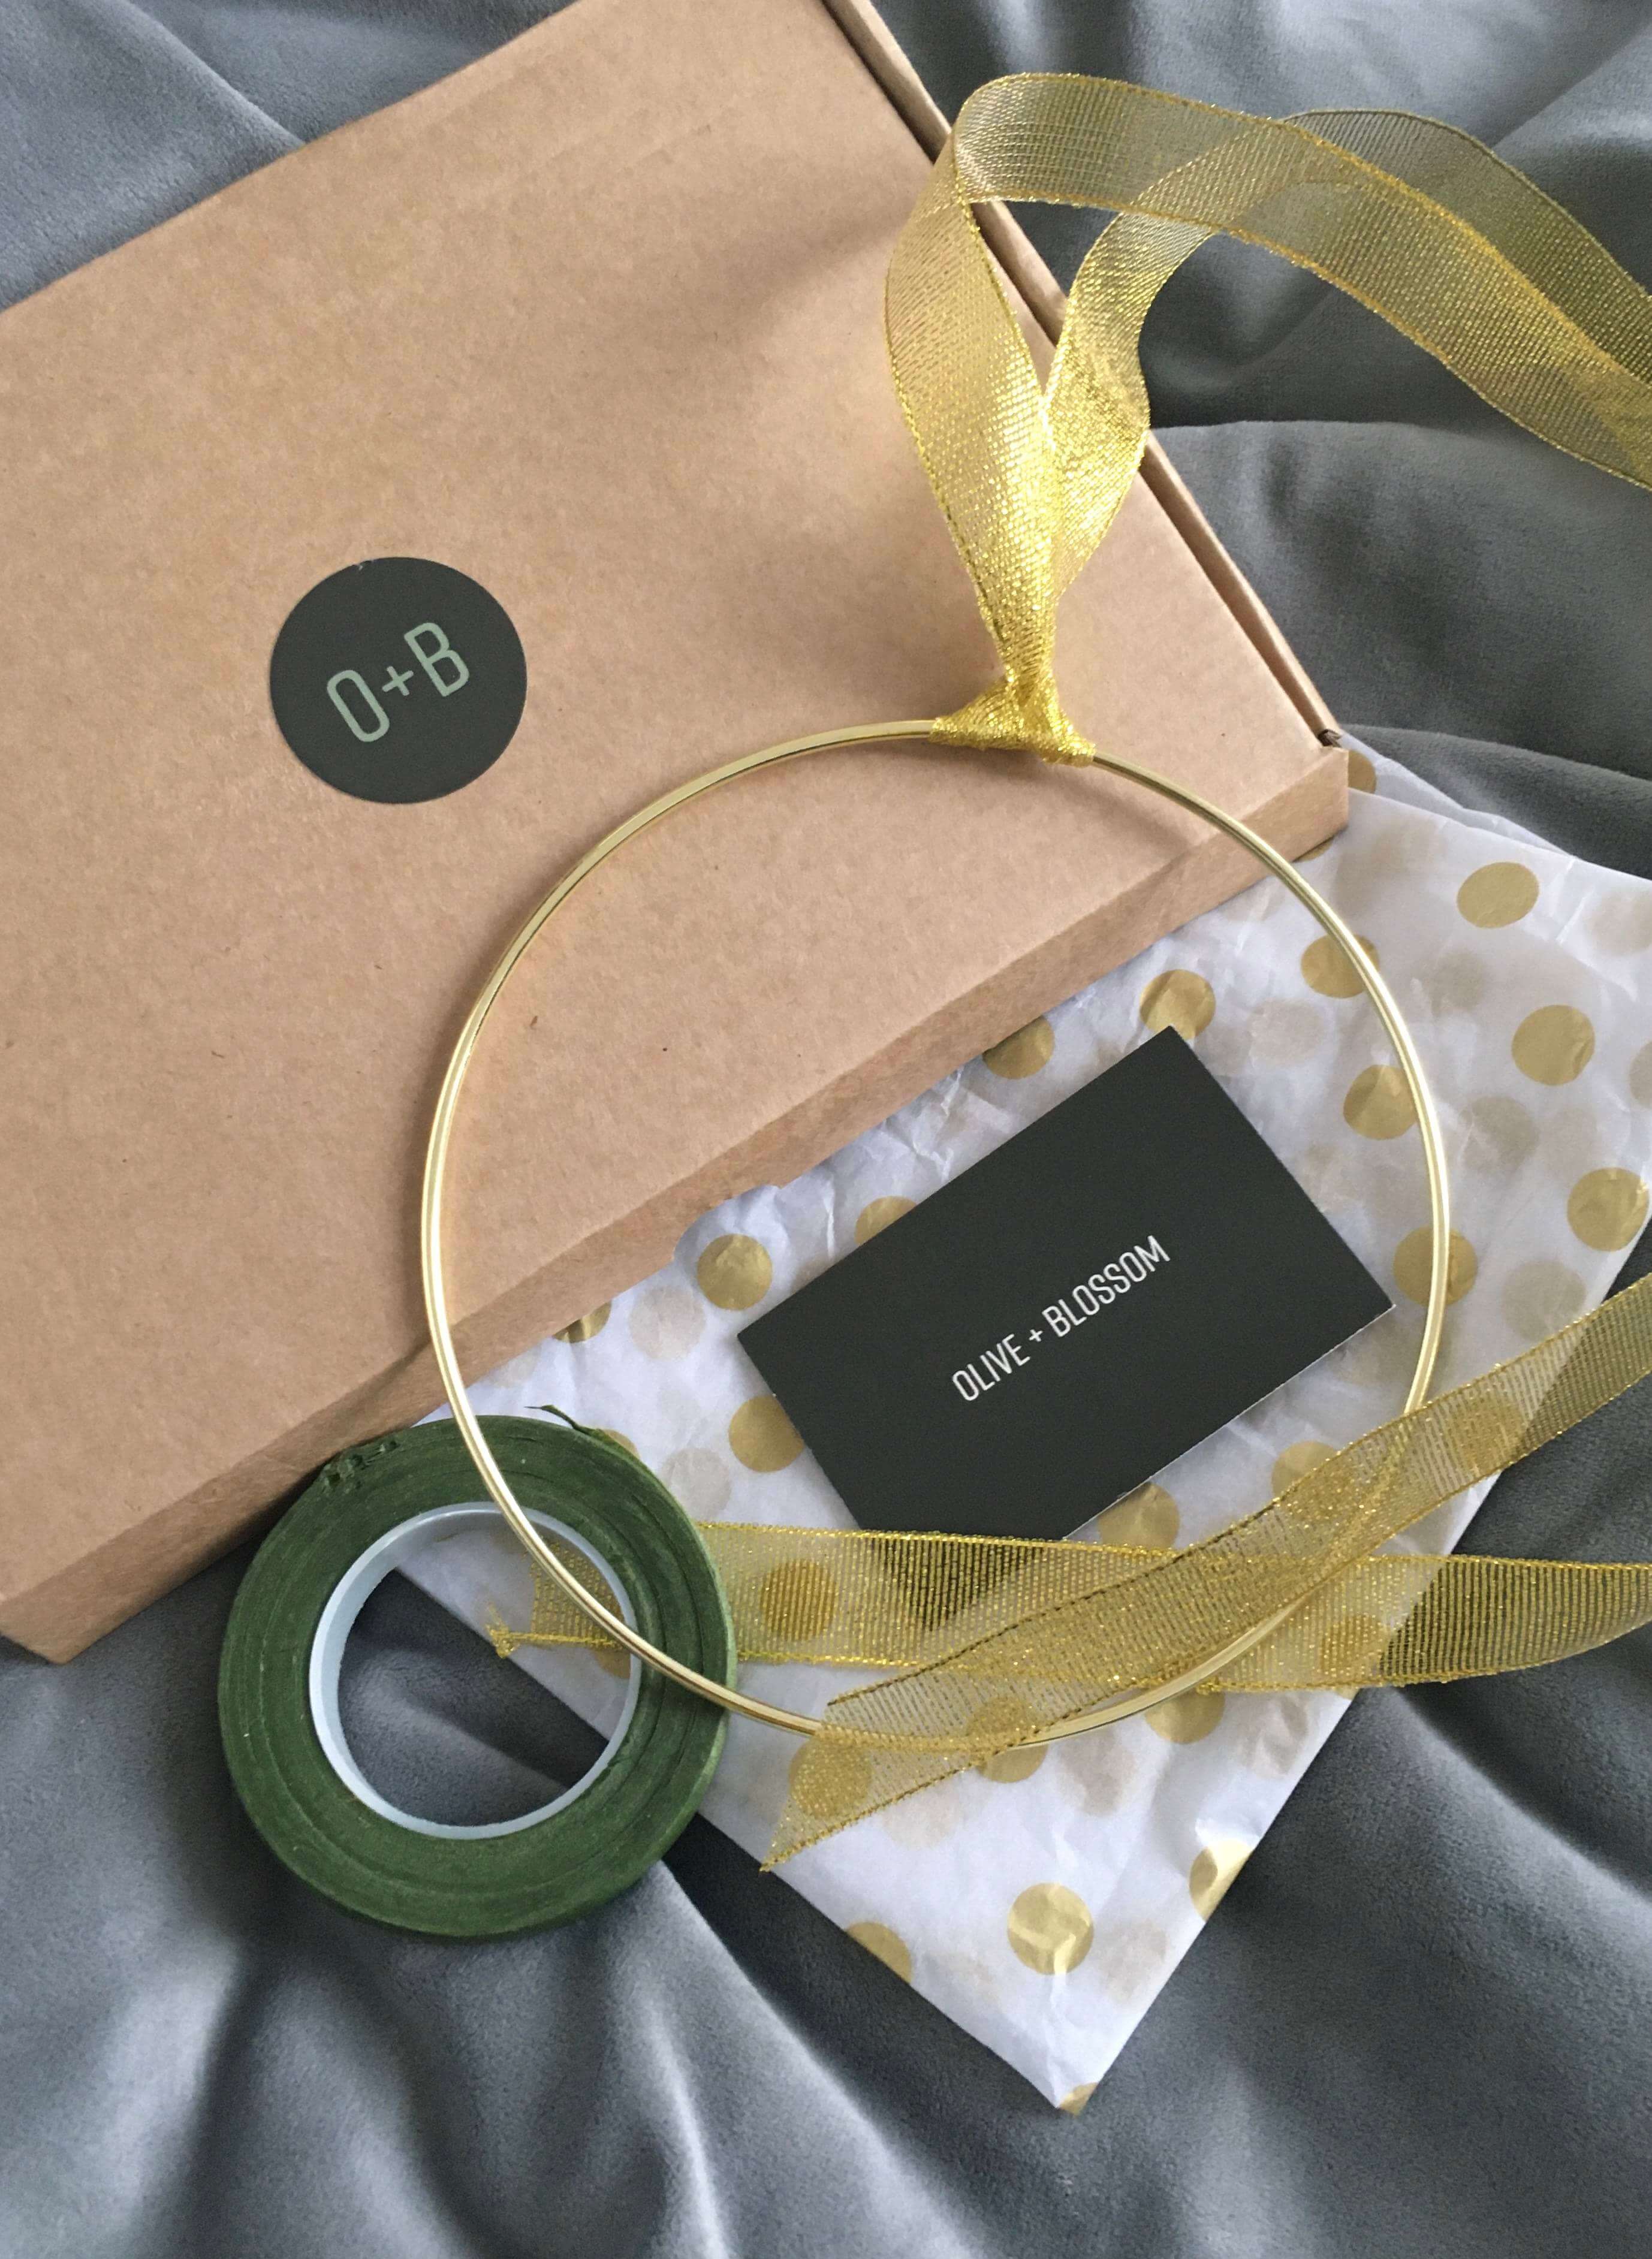
Olive + Blossom gift kits available - email hello@oliveandblossom.com.